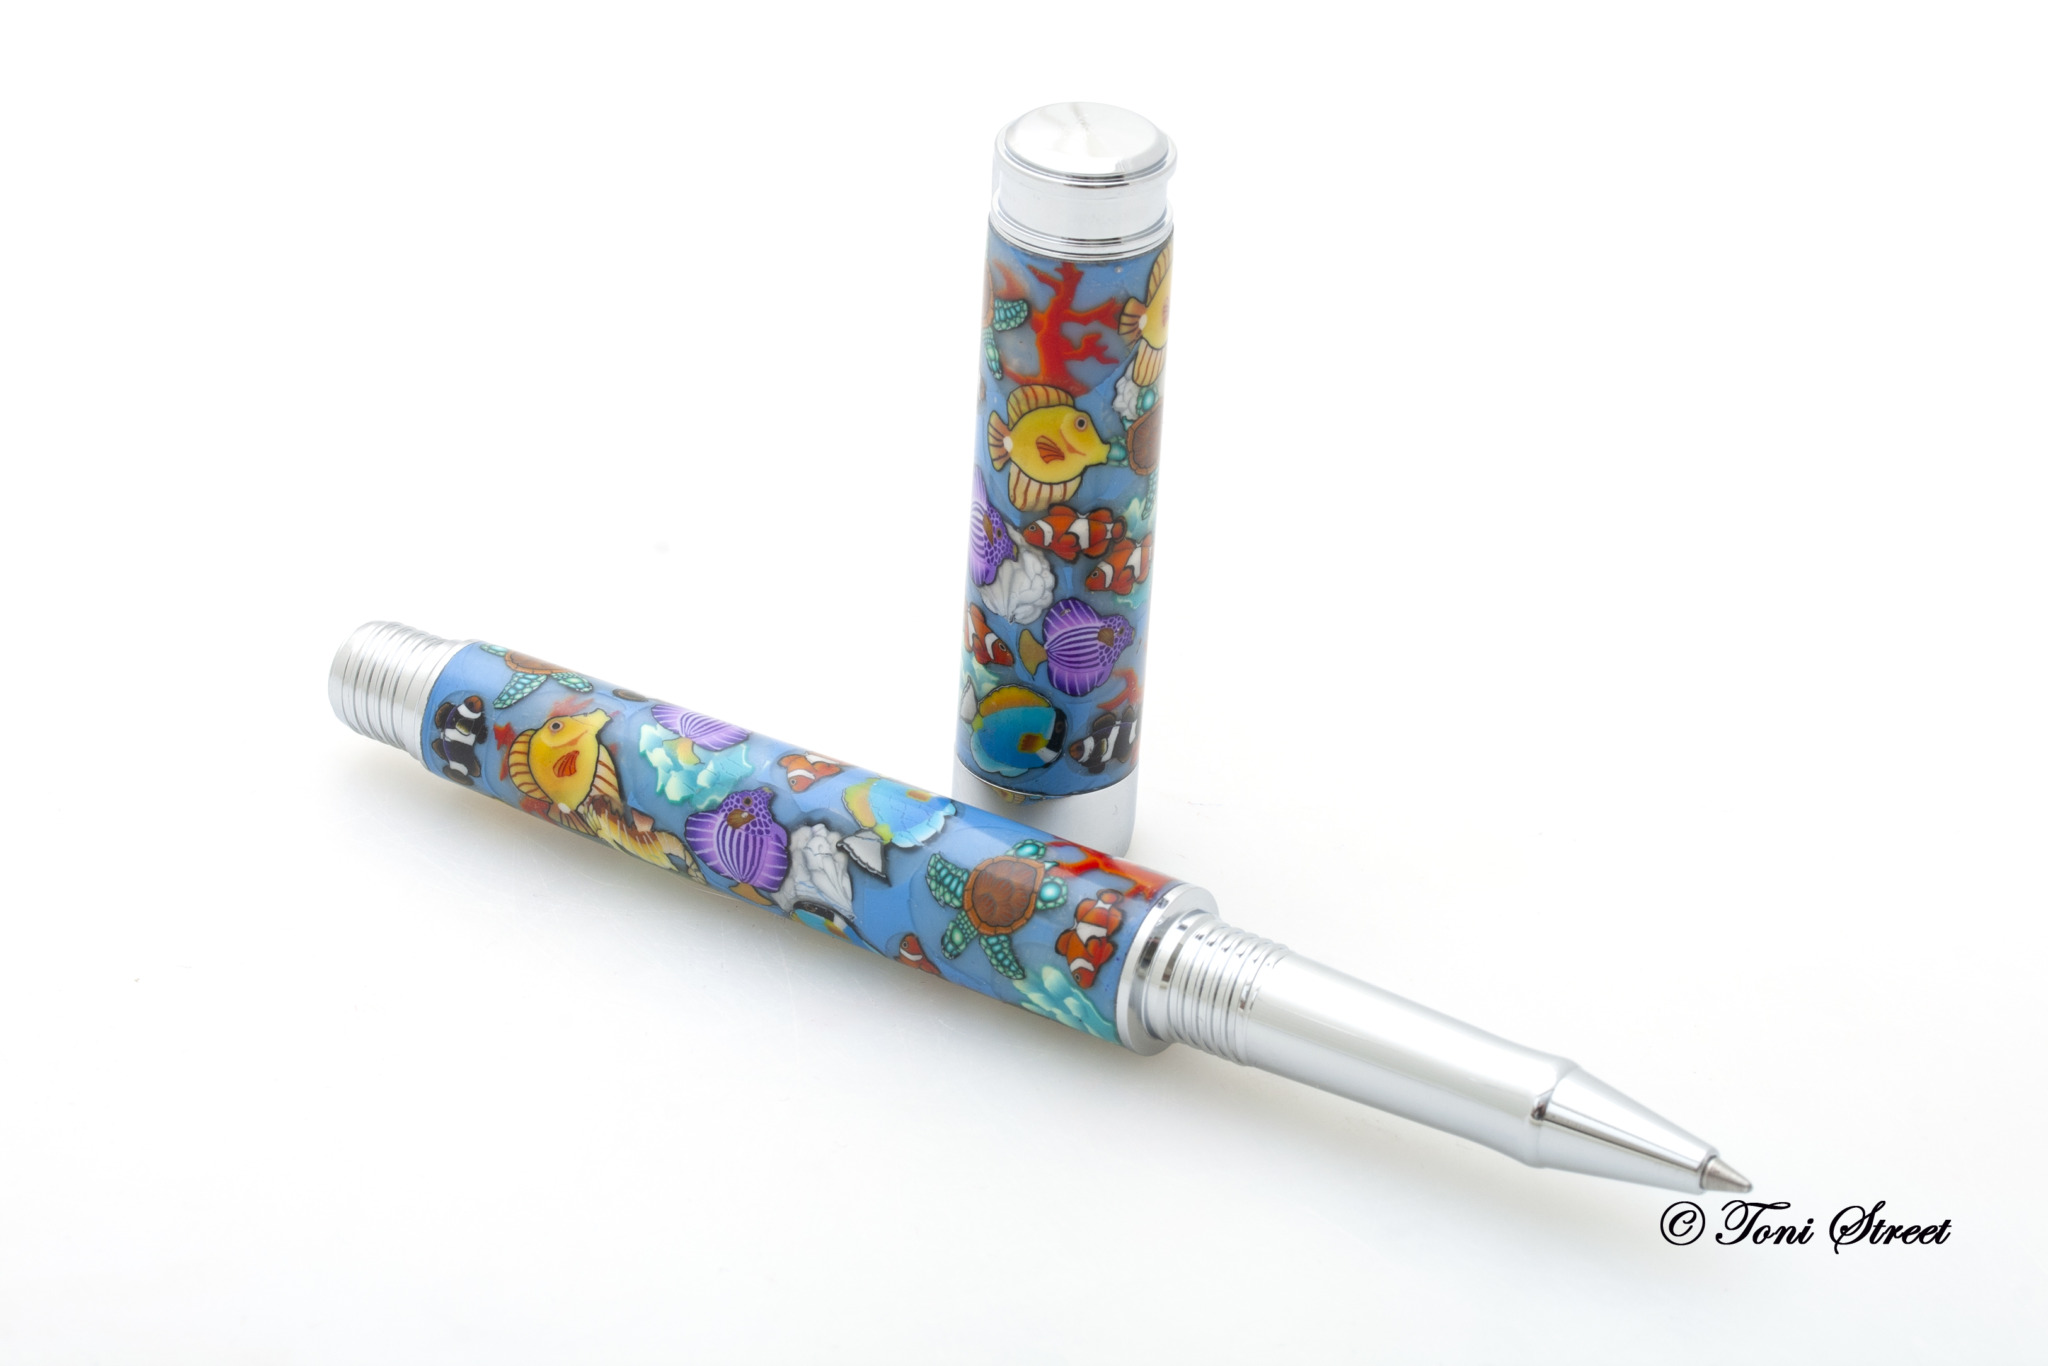
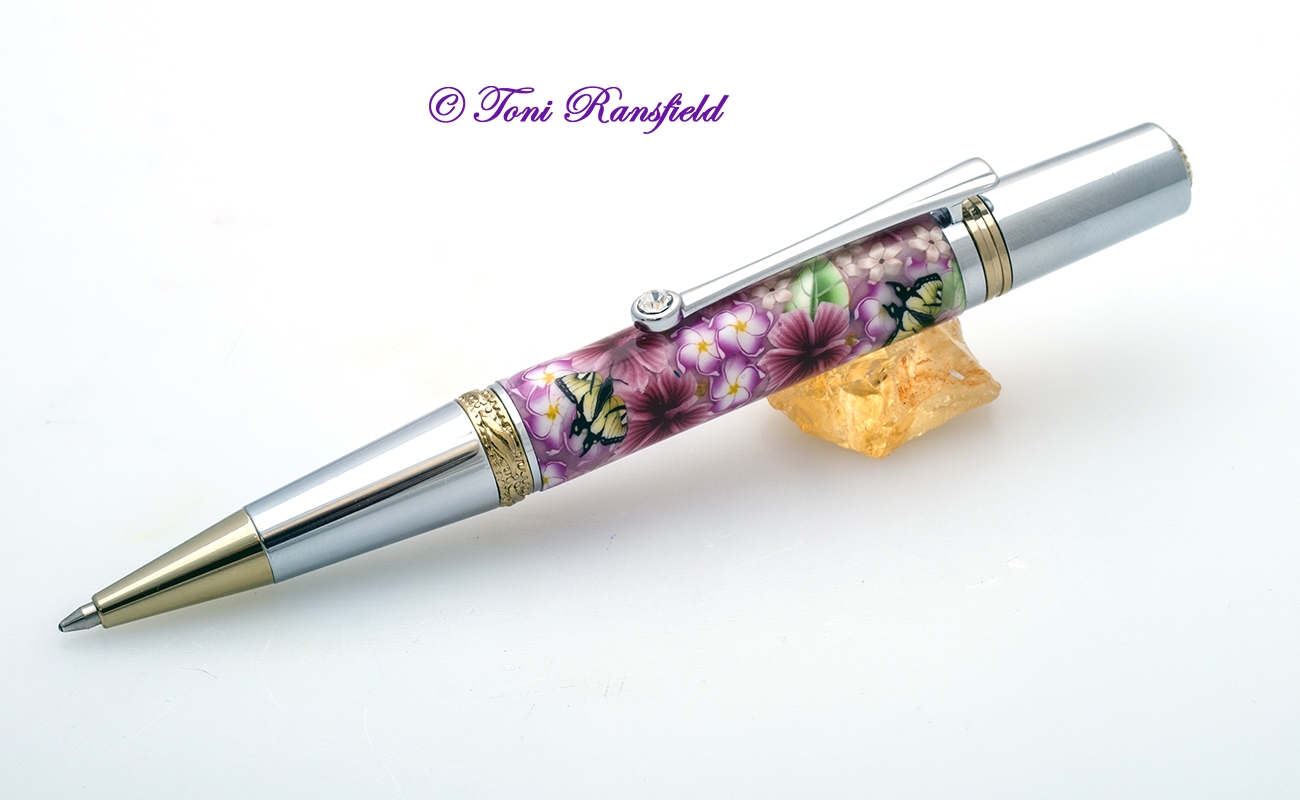
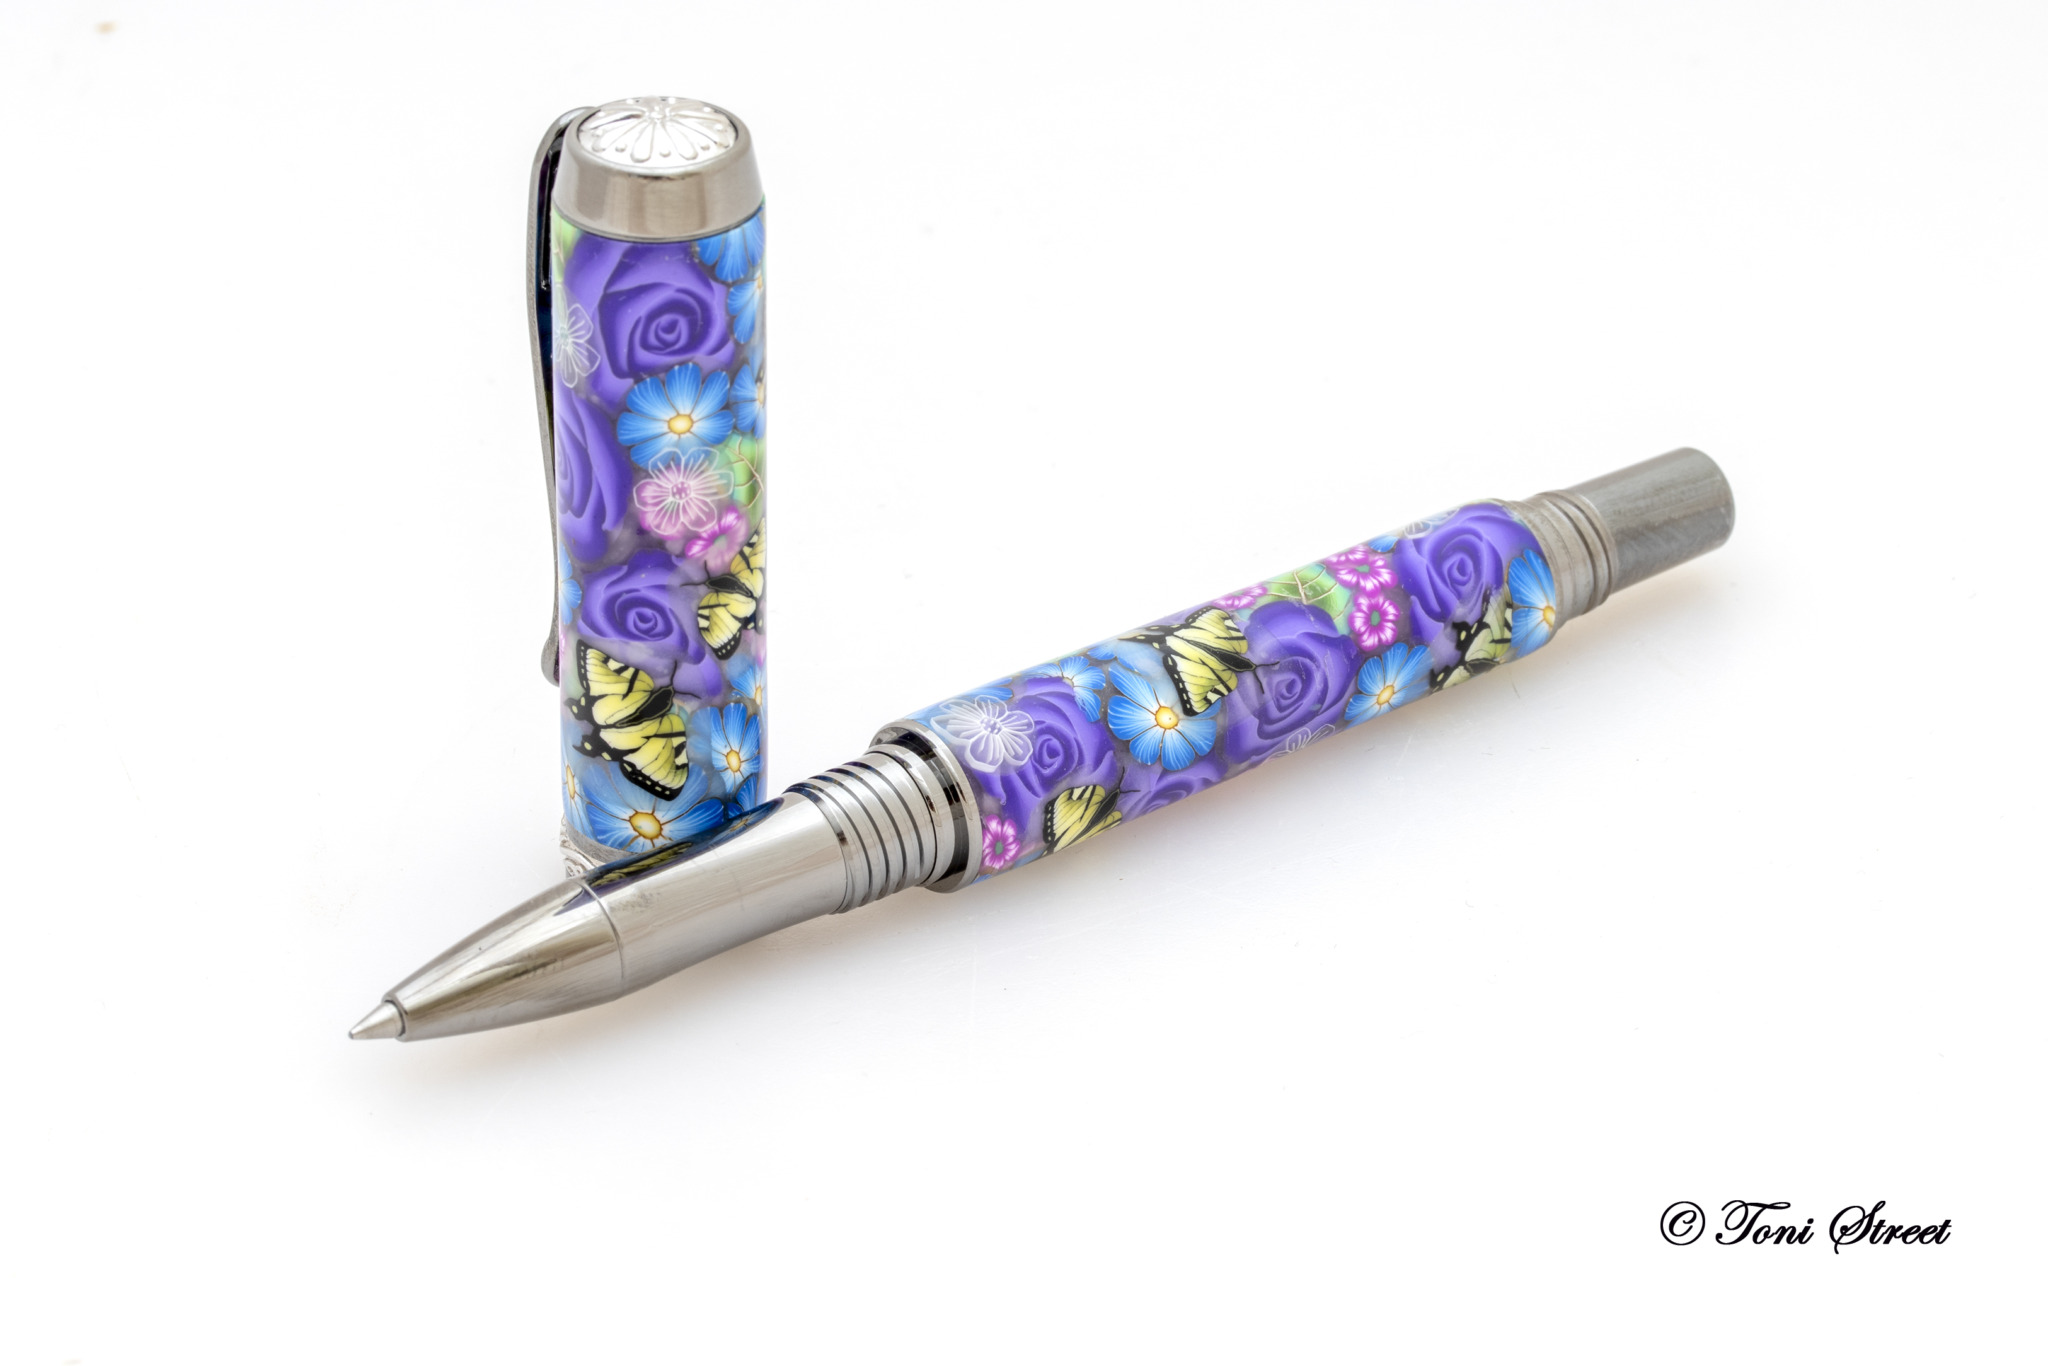
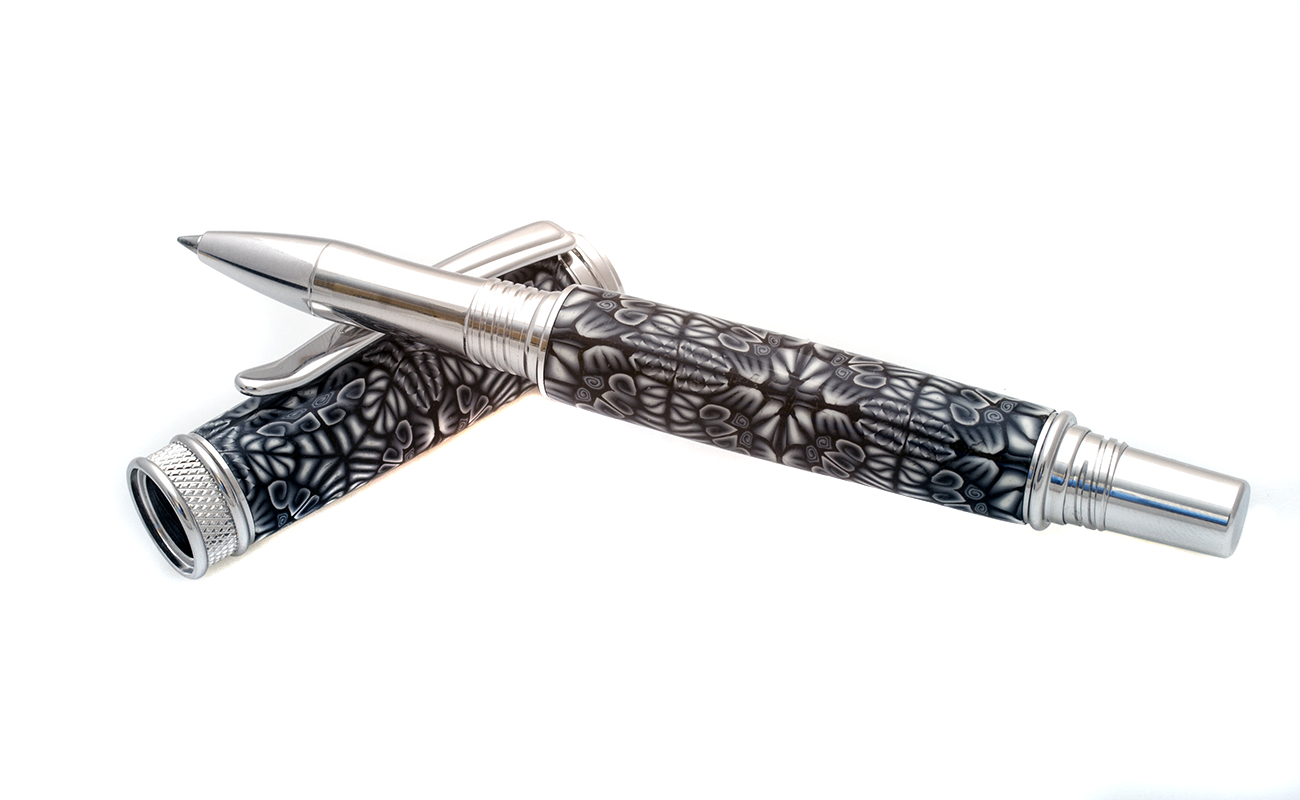
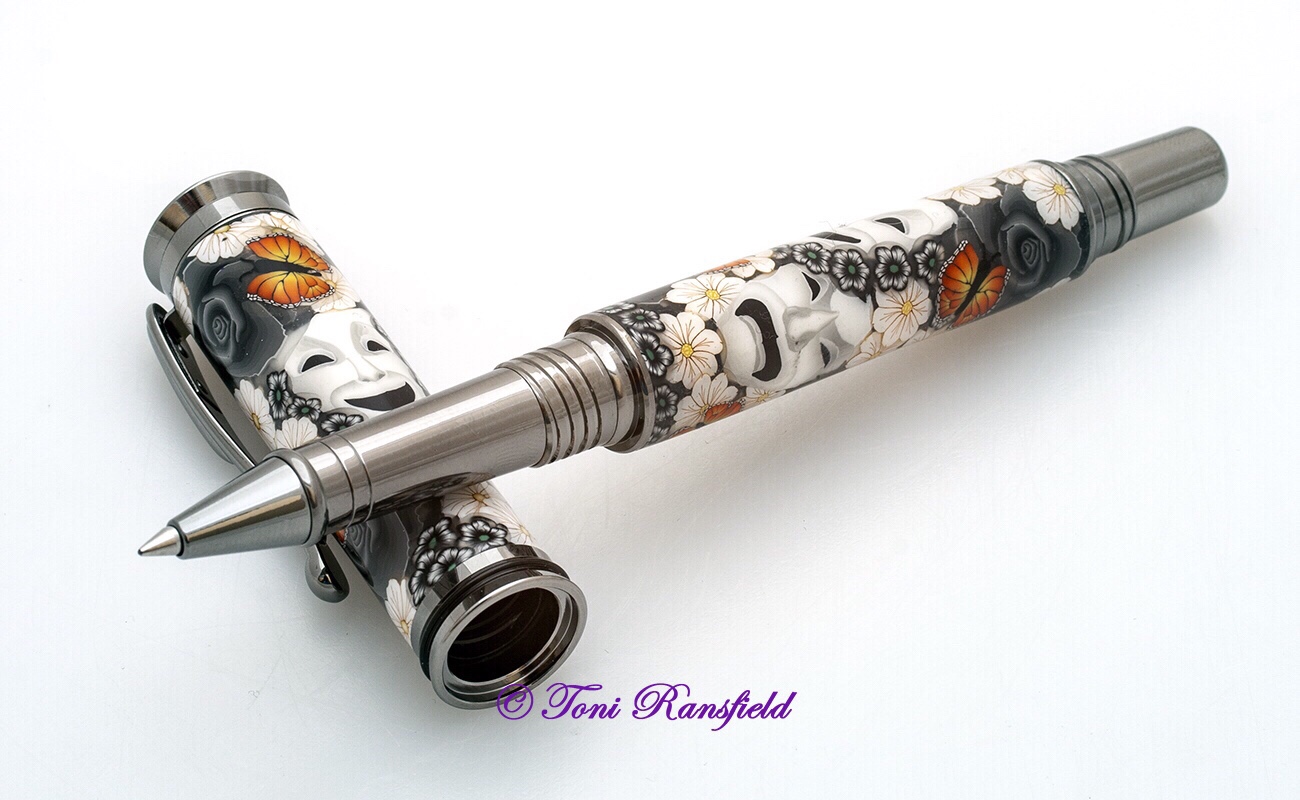
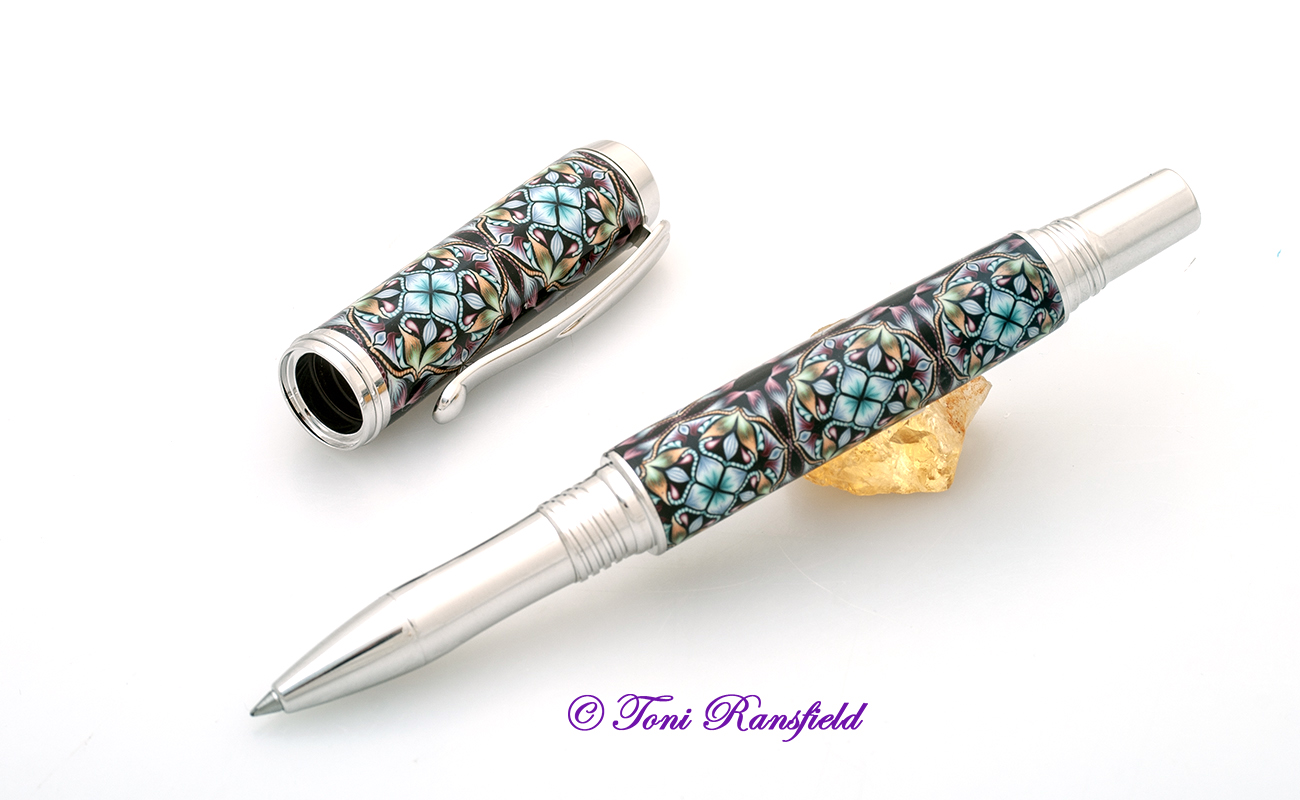
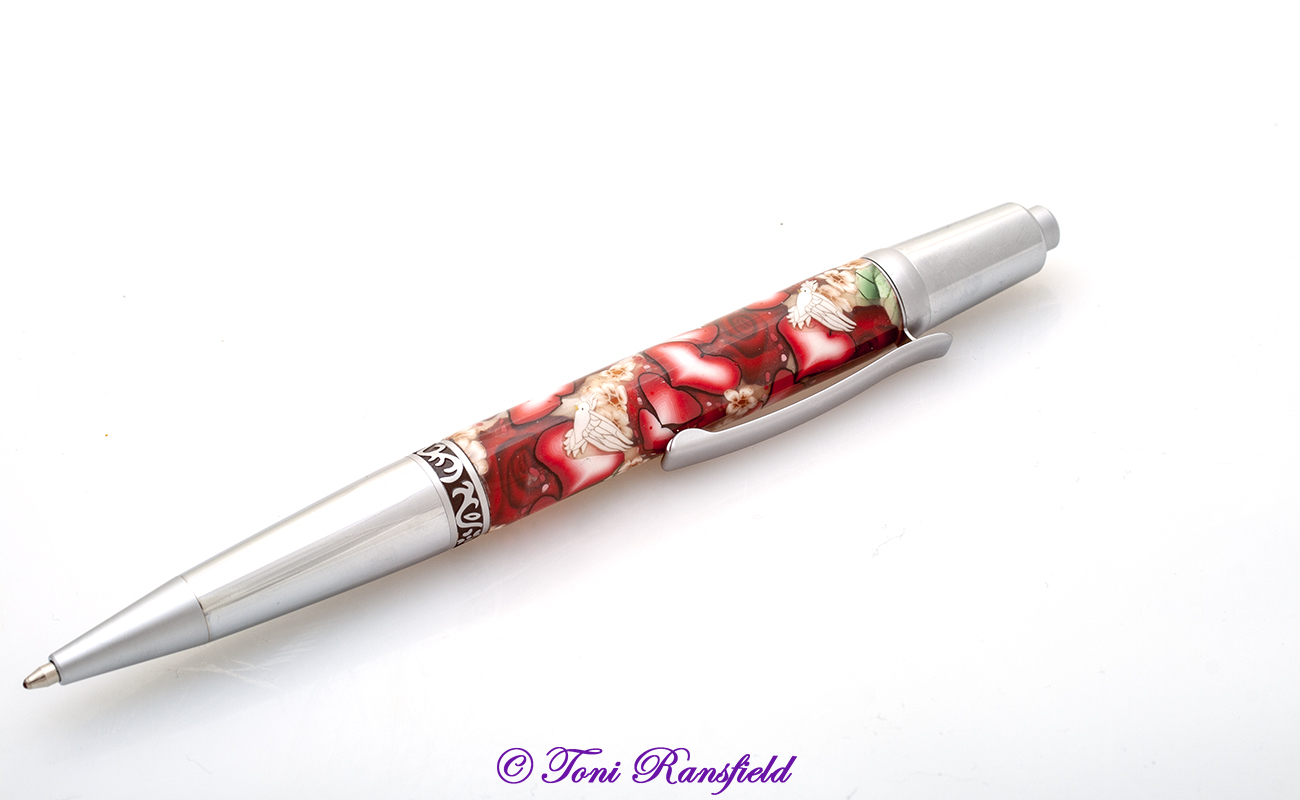
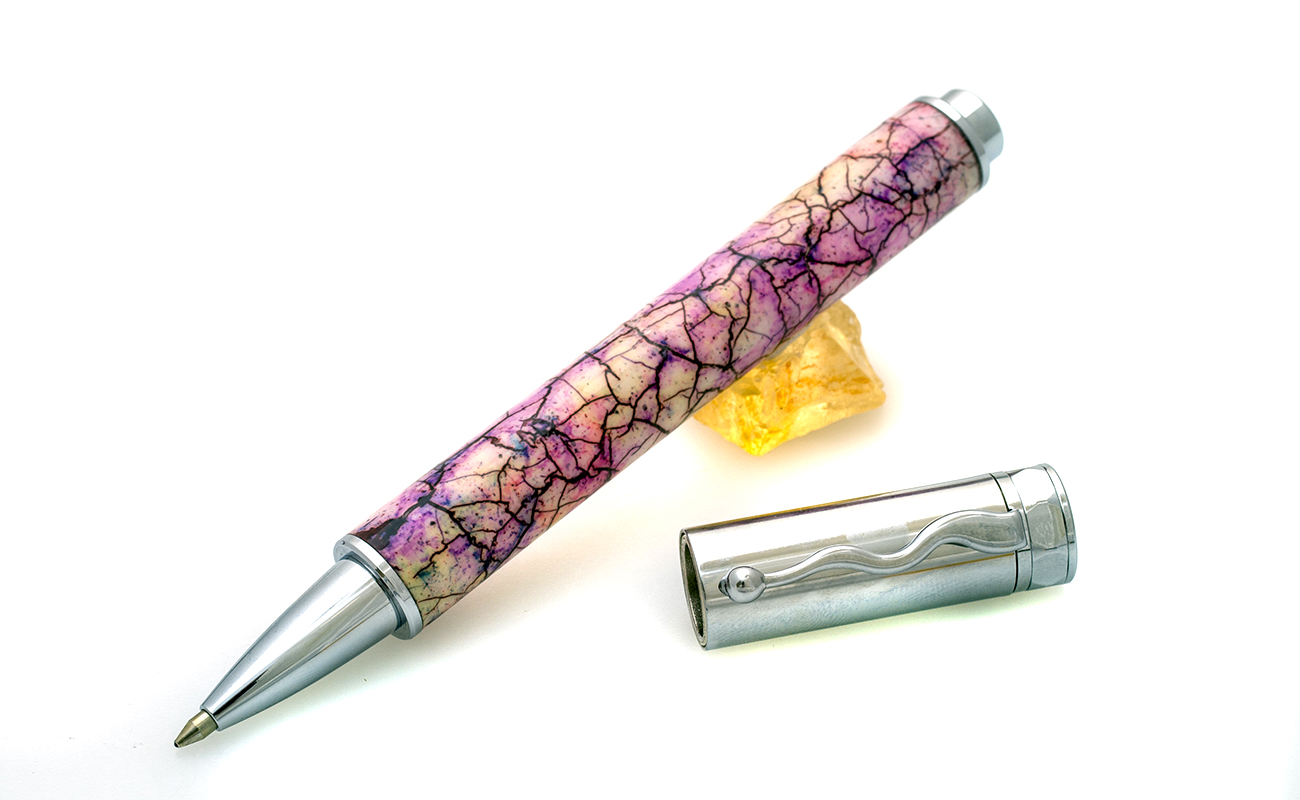
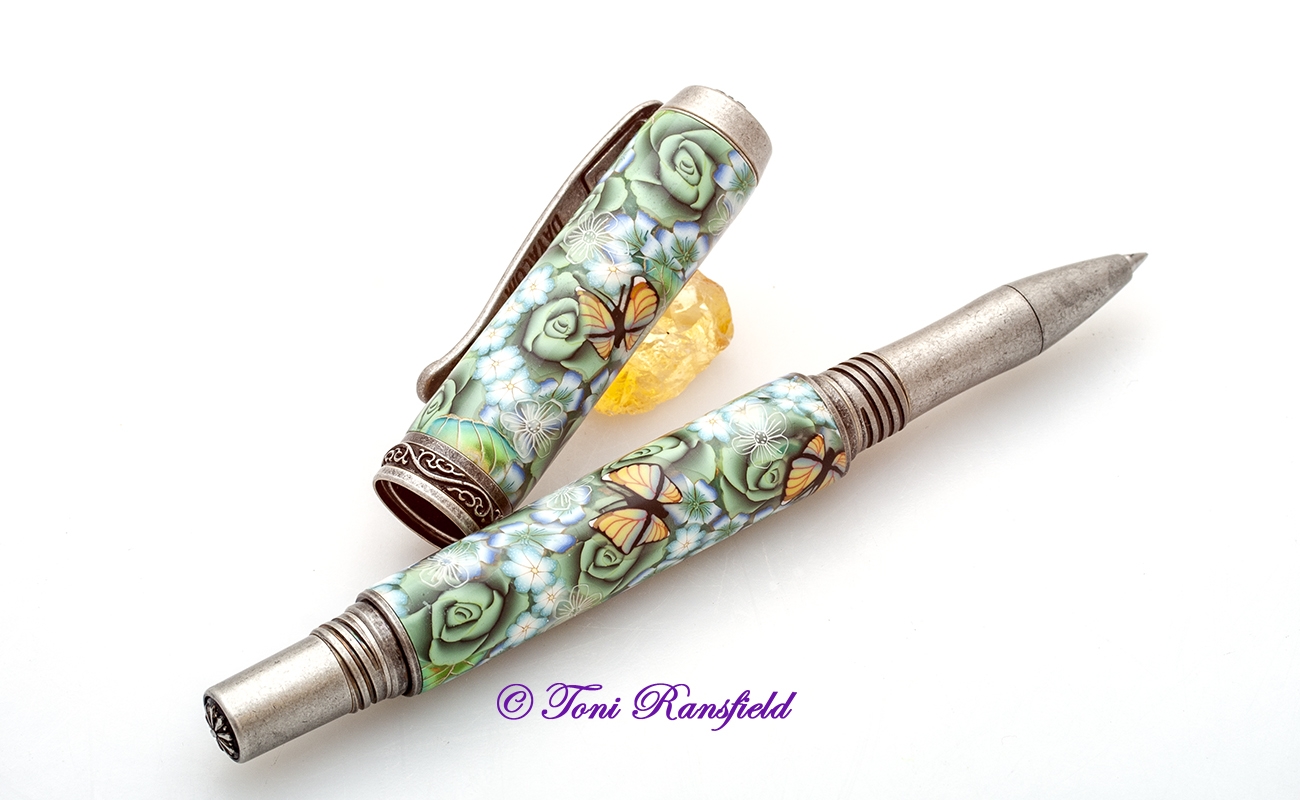
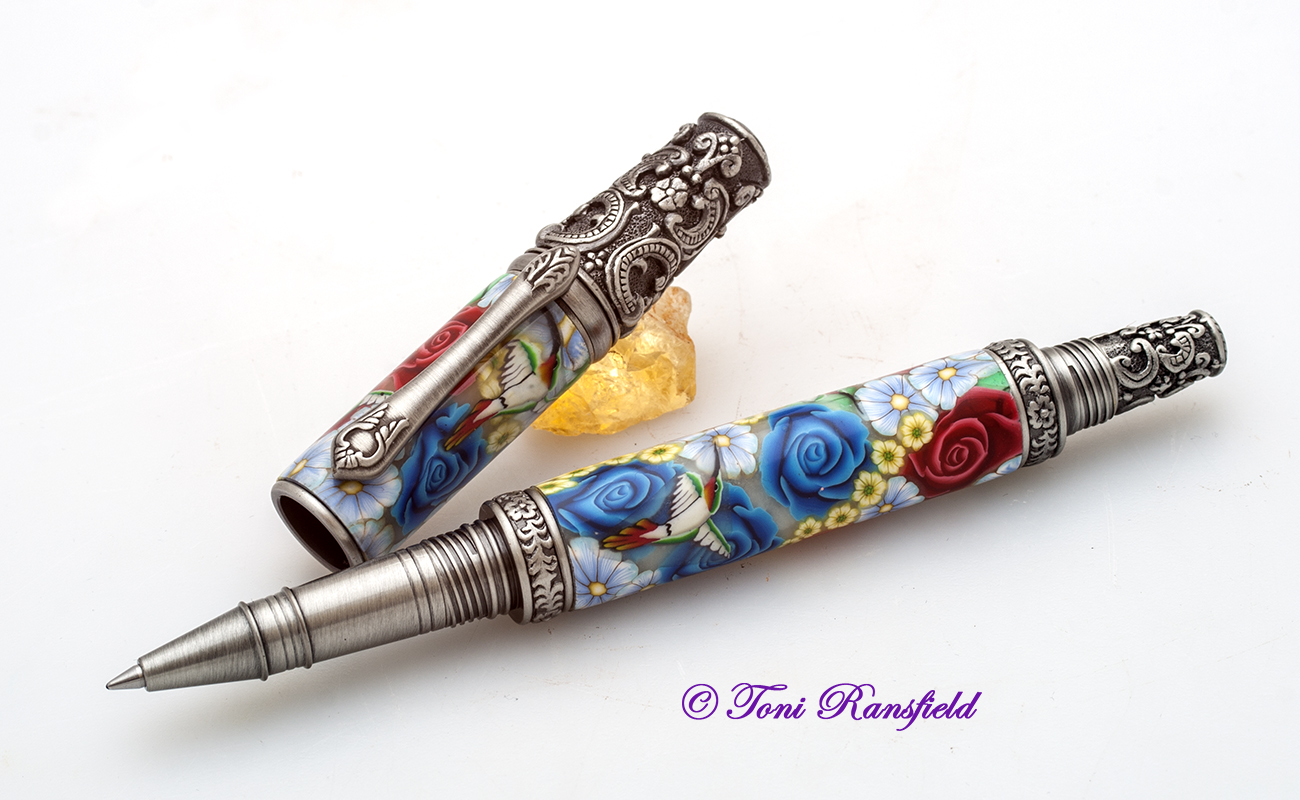
Every pen is a hand crafted one-of-a-kind work of art
I hope you get as much pleasure from looking at my pens as I have gotten from making them.
The pens are covered with a Polymer Clay that is cured, making them extremely durable. Each leaf, each flower, each butterfly, and other assorted images are individual pieces that are created and applied one slice at a time to make the finished product.
Pen Makers Guild
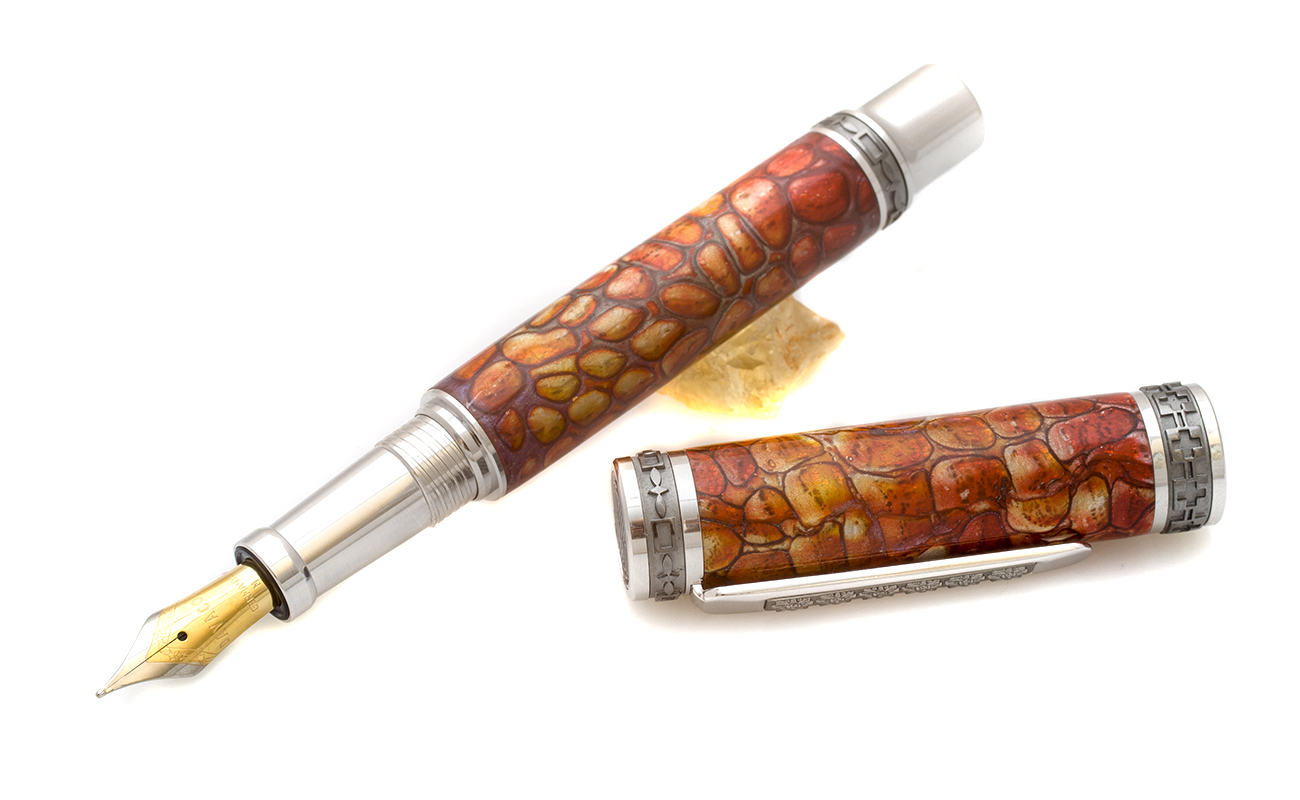
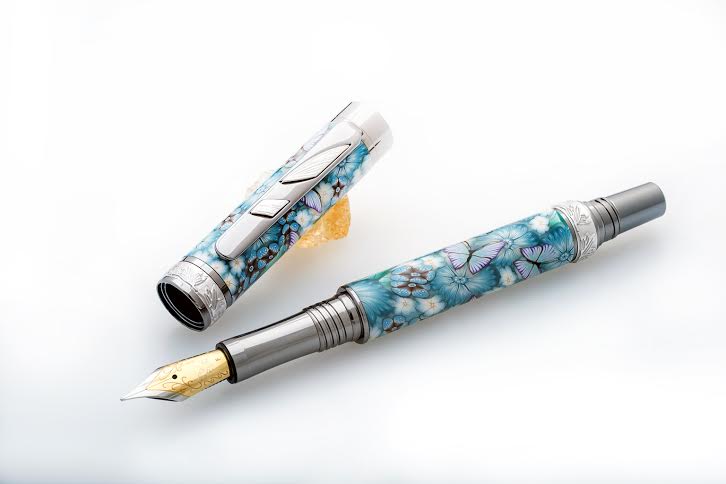
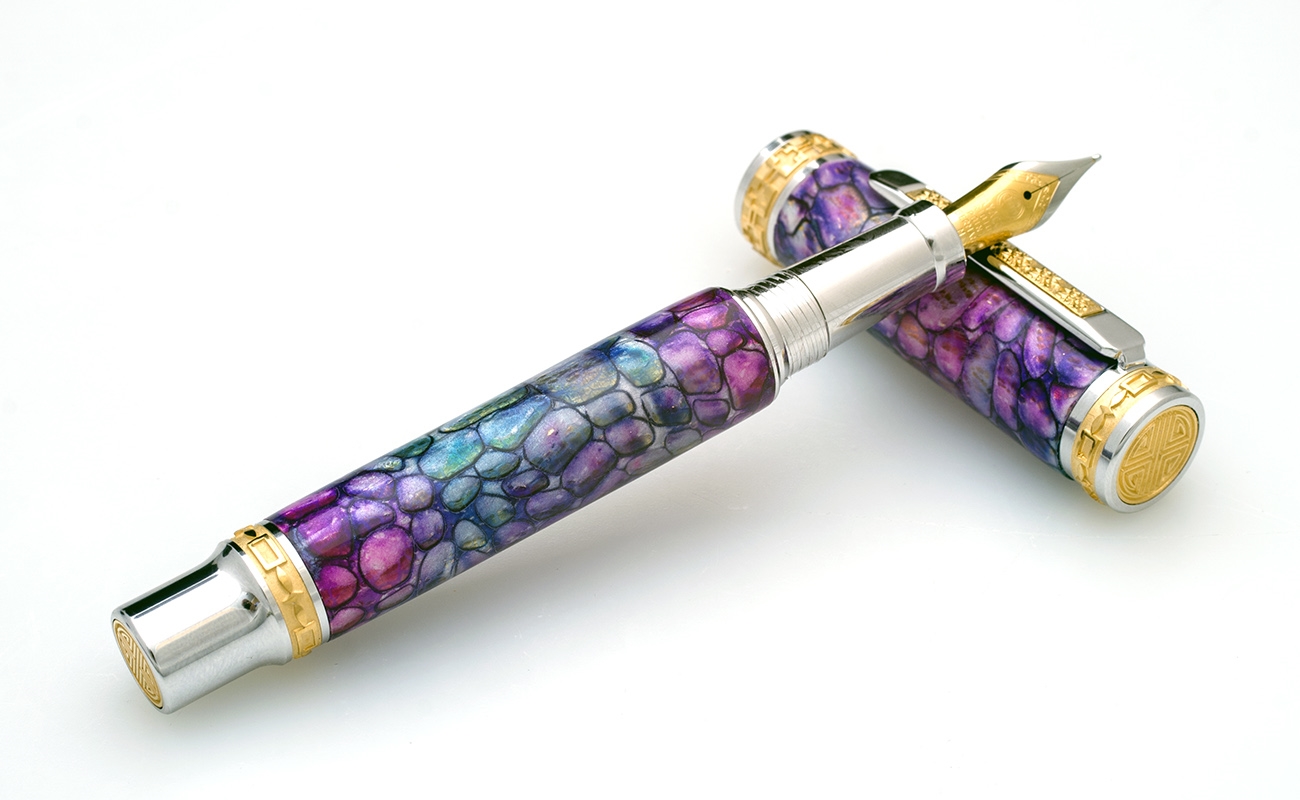
Toni is a proud member of The Pen Makers Guild. She was accepted in February 2011. The pen that was accepted was an incredible Dragon Scale Majestic Fountain Pen named Zathura.
The Pen Makers Guild was formed in 2003. Membership in the guild requires you to send your Masterpiece to the Guild Council for review and potential acceptance. You must send a real pen to the Guild Council for examination by one of the council members for Physical review. Potential members are accepted into membership after the council members vote; perfection in fit and finish is expected along with a new or novel application in materials, construction, decoration, design and unique feature. The pen and description are mailed to the selected council member for review, photographing and then shared with the other 4 council members. The council members review and discuss each application and the then they vote on the applicant’s submission. There are about 83 members in the guild now.
Background
Toni was a key demonstrator at the American Association of Wood turners (also known as AAW) in June 2016 in Atlanta, Georgia. She did two very successful demonstrations on the topic Connecting Polymer Clay to the Pen World.
In July 2019 Toni was a key demonstrator at the American Association of Wood Turners, AAW, in Raleigh, North Carolina. Toni did two very exciting demonstrations on Polymer Clay in the Pen World.
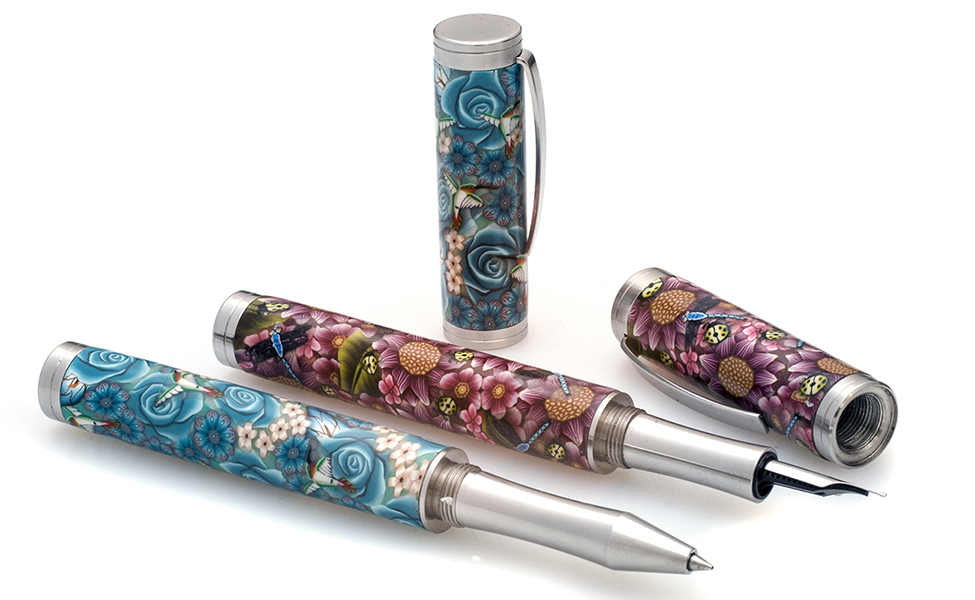
Polymer Clay was developed in 1939 and certainly isn’t a new material in the Art World. There are numerous ways to use Polymer Clay or “PC” as it’s also referred to. PC, when designed in the proper way, lends itself to unique and beautiful designs perfect for use in pen turning. In the presentation she discussed the different brands of PC and which one is right for you.
Toni also focused on how to use PC to make Millefiori canes, curing the pen tubes, baking them and finishing a pen blank.